How to Take Product Photos at Home
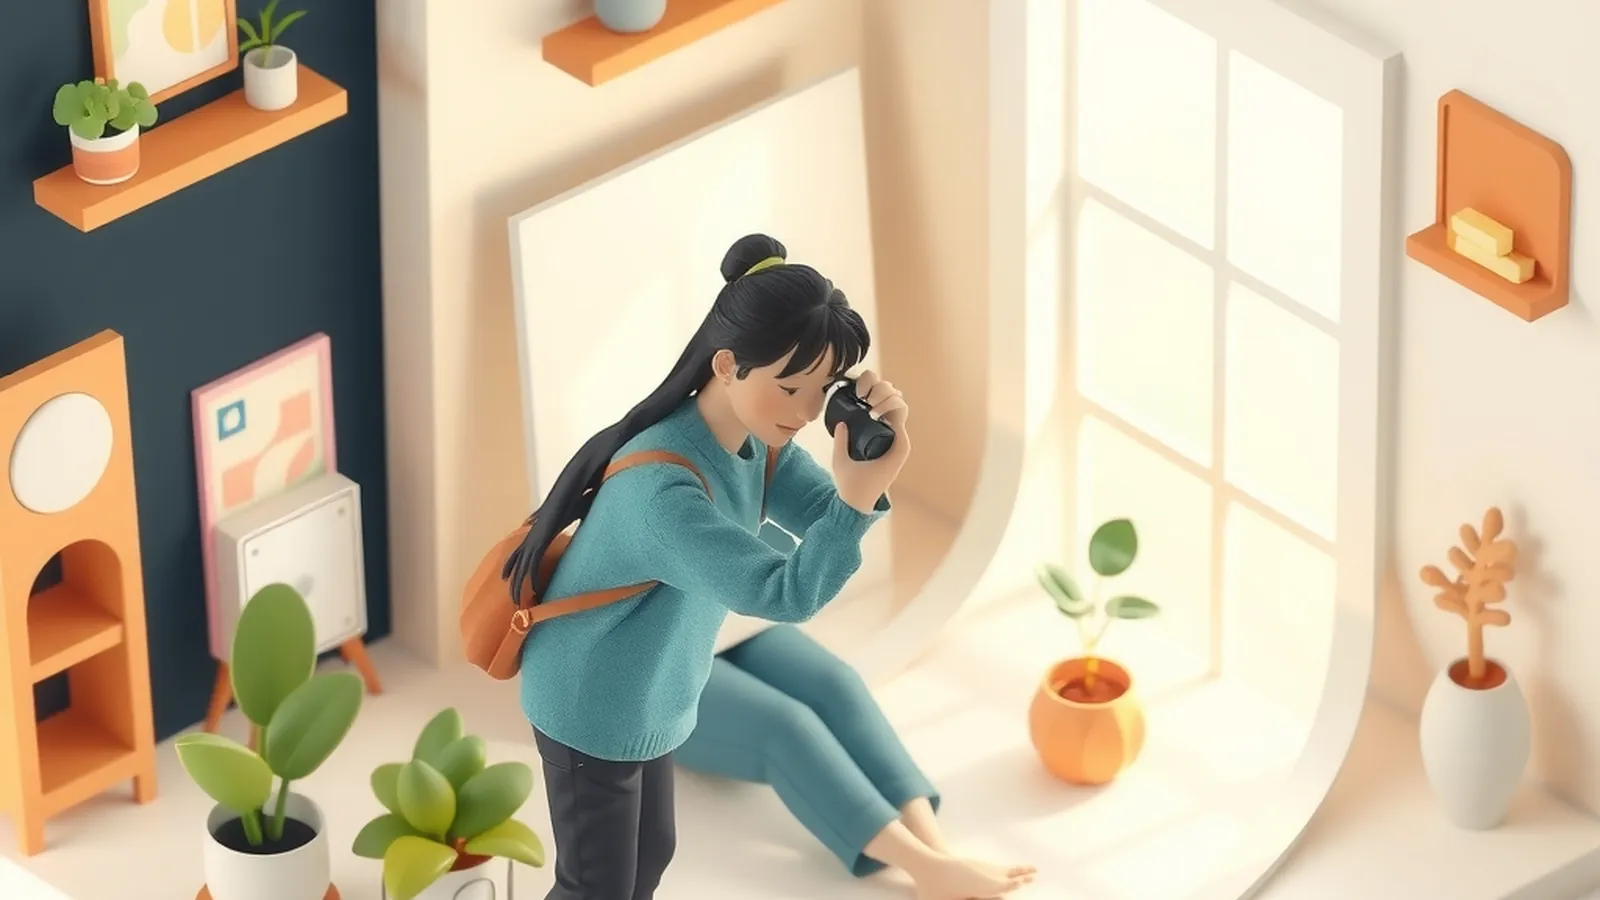
You can take good product photos at home with a phone, a bright window and a plain background. The keys are soft natural light, a steady phone, a clean backdrop and a set list of shots that answer a buyer's questions. Expensive gear helps a little; honest, consistent photos help a lot more.
Online shoppers can't pick up your item, so your photos do the work of a hand, an eye and a tape measure. That's why photos sit right after research in our E-commerce section: once you know what you're selling, the pictures are how strangers decide whether to trust it.
What you need (most of it is already in your home)
| Item | What it does | Cheap stand-in |
|---|---|---|
| Phone with a clean lens | Takes the photo | Wipe the lens with a soft cloth first |
| A window with indirect light | Soft, even light | Shoot on a cloudy day or away from direct sun |
| White or neutral backdrop | Keeps focus on the product | Poster board, a bedsheet, a painted board |
| Bounce card | Fills in shadows | White foam board or a sheet of printer paper |
| Something to steady the phone | Sharp photos, repeatable angles | A stack of books or a small tripod |
| Tape and putty | Holds props and backdrops in place | Painter's tape, sticky tack |
A "sweep" makes the biggest difference. Tape the top of a poster board to a wall or box and let it curve down onto the table. With no visible corner behind the product, the item looks like it's floating on clean white.
Set up your light
Light is the whole game. Here's a setup that works on most kitchen tables:
- Put the table beside a window, not facing it. Light should come from the side.
- Turn off overhead lights and lamps. Mixed light sources make colors look off.
- If the sun is shining straight in, hang a thin white curtain or a sheet of parchment paper over the glass to soften it.
- Place a white bounce card on the side opposite the window. Move it closer until the dark side of the product brightens a bit.
- Take a test shot and look at the shadows. Hard, sharp-edged shadows mean the light is too direct. Soft, gradual shadows mean you're in good shape.
Shoot at the same time of day for each batch so your shop looks consistent. Late morning or early afternoon on a bright, overcast day is a friendly window to start with.
Phone settings and habits
- Use the main lens. Many phones have several lenses. The standard one usually gives the sharpest, most natural result.
- Don't use digital zoom. Move the phone closer instead, or crop later.
- Tap to focus, then adjust brightness. Most phone cameras let you tap the product and slide exposure up or down. Aim for a bright background without losing detail in white or pale items.
- Turn off the flash. Flash creates glare and flat, harsh shadows.
- Avoid wide-angle distortion. Shoot from a little farther back with the standard lens so straight edges stay straight.
- Keep the phone still. Rest it on books or use a tripod and the camera timer so a tap doesn't blur the shot.
The shot list: photos that answer questions
Think about what a buyer would check if they were holding your product in a store. Then photograph each of those things. A simple list for most items:
| Shot | What it answers |
|---|---|
| Main image, front, on plain background | "What is it?" |
| Back and sides | "What does the rest of it look like?" |
| Close-up of texture, stitching or material | "Is it well made?" |
| Scale shot with a hand or common object | "How big is it really?" |
| In use or in a simple setting | "How would this fit my life?" |
| Variations side by side | "What are my options?" |
| Packaging, if it's part of the gift | "How will it arrive?" |
Scale shots prevent more confusion than almost anything else. Buyers misjudge size from a plain white photo all the time. A hand holding a mug, a pen beside a notebook or a folded shirt on a chair says more than a measurement alone. Still list measurements in your description too.
Some marketplaces have their own rules for main images, such as background color or what can appear in the frame. Check the current seller guidelines on the platform you use before you shoot your main photo.
Example: one seller's first photo session
This is a made-up example. Jordan sells small ceramic planters from a spare room. Their first photos were taken under a ceiling light and looked yellow and grainy. For the next batch they moved a folding table next to a north-facing window, taped a poster board sweep to a cardboard box, and propped a sheet of foam board on the other side.
They shot each planter in the same order: front, side, top-down, a close-up of the glaze, one held in a hand, and one on a shelf with a small plant. They kept the phone on a stack of cookbooks so every front view was taken from the same height. The whole batch took one afternoon, and the shop finally looked like a single, consistent collection.
Edit lightly and honestly
Editing should make the photo match reality, not improve on it. Good edits:
- Crop and straighten so the product is centered and level.
- Brighten slightly if the background looks gray.
- Adjust white balance if the photo looks too warm or too cool compared with the item in your hand.
- Remove dust specks on the backdrop.
Edits to avoid: removing scratches or flaws on the product, changing the color of the item, adding parts that aren't included, or stretching the image. If a buyer opens the box and feels misled, you'll likely face a return and a disappointed customer. The FTC expects ads to be truthful and not misleading, and that applies to how products are shown too. Our guide to honest copywriting covers what that means in practice.
Use photos you have the right to use
Take your own photos whenever you can. Supplier images, other sellers' photos and pictures found online usually belong to someone else, and using them generally needs permission or a license. If you use props like artwork or printed fabric in the background, keep them generic so the focus stays on your item.
Keep photos consistent across your shop
Consistency makes a small shop look organized and trustworthy. Use the same backdrop, the same angle for main images and similar light for every product. Save a note with your setup, such as table position, time of day and phone height, so next month's batch matches this month's.
Once you have a library, you can reuse the in-use photos beyond your listings. Our guide to social media for business explains how to turn product shots into posts without making your feed feel like a catalog.
Where photos fit with the rest of your store
- Photos show what you sell, but price tells buyers whether it's worth it. Work through pricing your products so your listing and your price tell the same story.
- Your photos also make promises about what arrives. Read shipping basics to make sure packaging and delivery live up to them.
- If you haven't picked products yet, start with product research before you spend time on a photo setup.
Do this today
Pick one product. Set a table beside a window, tape up a white poster board sweep and take the seven shots from the list above. Compare the photos with the item in your hand. If the colors and size feel true, you have a template for every product that follows.
Want a step-by-step business course?
Some people like the structure of a paid guide. This button opens a third-party online business program from one of our advertising partners. Results vary and most people earn little or nothing at first. Its claims are its own, not ours, so weigh them against our red flags checklist.
See the partner program →We may be paid when you click. The program shown can change. Read its terms before you buy anything. How this works
Frequently asked questions
Do I need a real camera for product photos?
No. A recent phone, a window and a plain background can produce clear, sharp listing photos. Steady hands, good light and a clean lens matter more than the camera.
What is the best background for product photos?
A plain white or light neutral surface works for most main images because it keeps attention on the item. Use a simple styled setting for extra photos that show the product in use.
Should I edit my product photos?
Light edits are fine: crop, straighten and adjust brightness so the photo matches what you see in person. Never edit away flaws or change colors in a way that would surprise a buyer.